Printable Scrapbooking for Beginners: How to Start
Learn how to start scrapbooking with printable kits, including the paper, tools, printer settings, layering workflow and simple first projects beginners need.
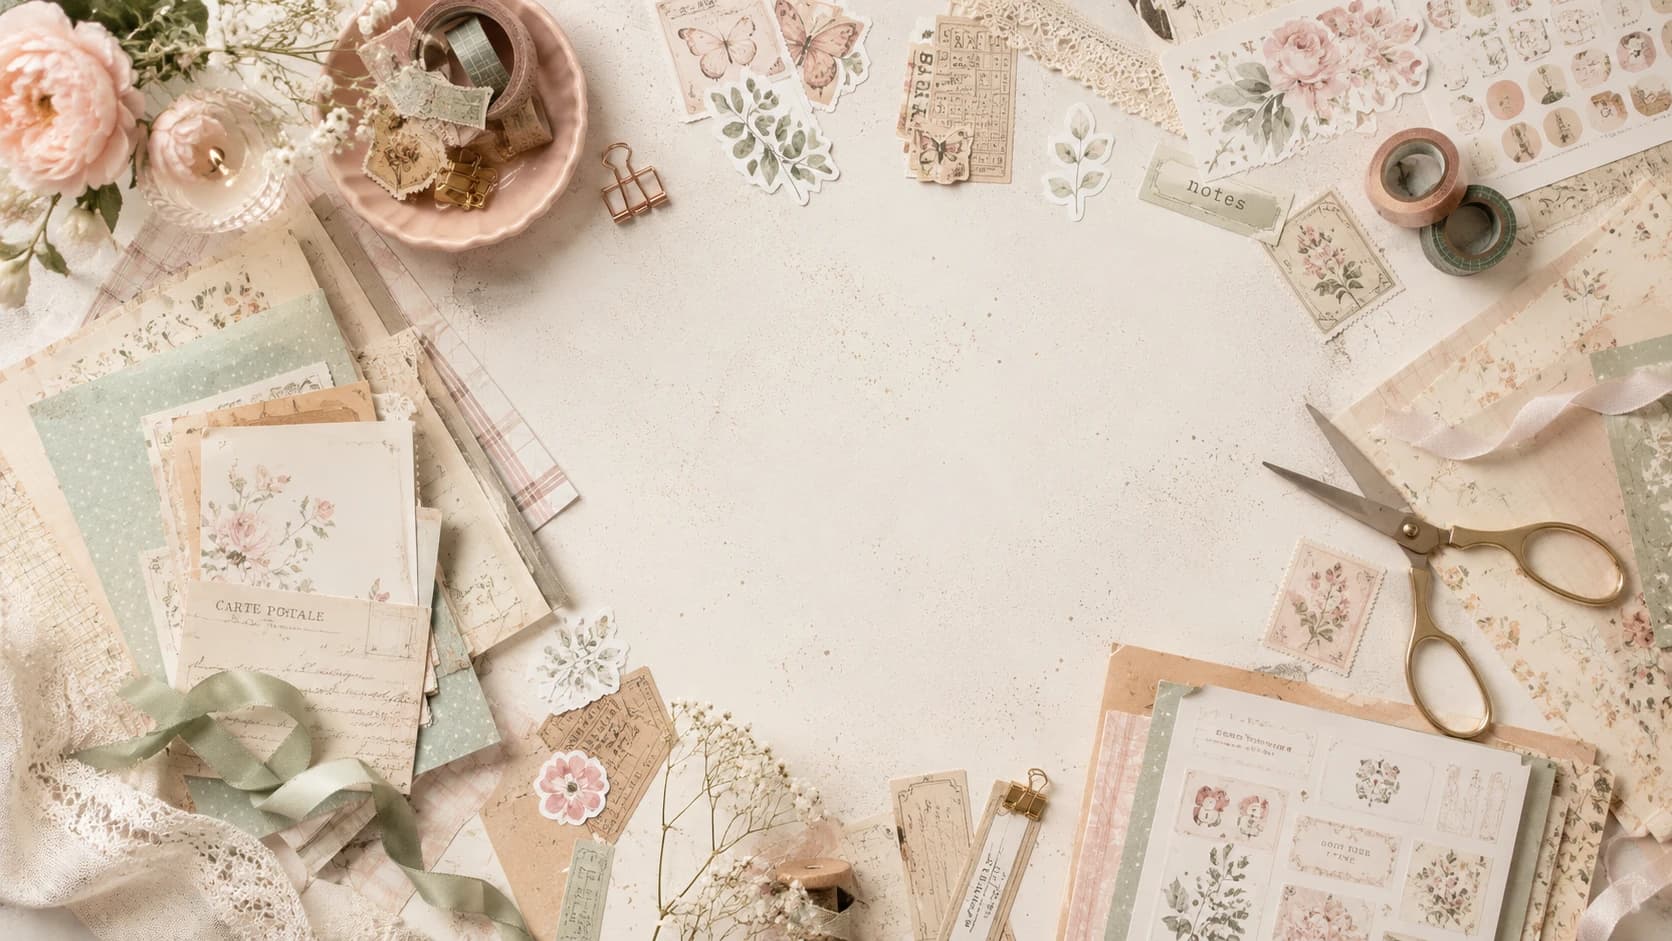
Printable scrapbooking combines digital design files with hands-on paper crafting. You download coordinated papers, stickers, cards and ephemera, print the elements you want, then cut, layer and assemble them into scrapbook pages, junk journals, cards or other paper projects.
If you are starting from scratch, the process can look more technical than it really is. You need a small set of basic tools, one printable kit you enjoy, suitable paper and a simple workflow. This guide walks through each step, from understanding the files to finishing your first page.
You will learn:
- what printable scrapbooking is and how it differs from fully digital scrapbooking,
- how printable scrapbook kits work,
- which beginner supplies actually matter,
- how to get clean prints at home,
- how to build a simple layered composition,
- and which mistakes are easiest to avoid on your first projects.
Whether you want to create a scrapbook page, a junk journal spread or a small paper craft project, the same beginner workflow will help you move from downloaded files to a finished physical page.
What Is Printable Scrapbooking?
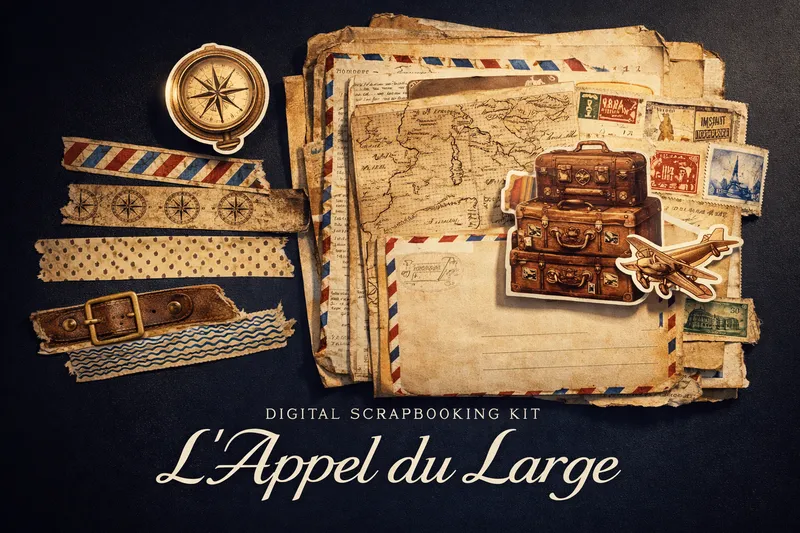
Printable scrapbooking uses digital files as craft supplies for physical or hybrid projects. Instead of buying every patterned paper, sticker or decorative card as a separate physical item, you download the designs, print the pieces you need and combine them by hand.
That is different from fully digital scrapbooking, where photos, papers and decorative elements are arranged inside software such as Photoshop, Canva or another design app and may never become separate cut paper elements. Pixel Scrap kits are designed primarily for the printable, hands-on workflow covered in this guide.
Why beginners like printable scrapbooking
- Instant access: download your files and start without waiting for shipping.
- Flexible printing: choose the sheets and elements you actually need for each project.
- Coordinated themes: papers, stickers, cards and decorative elements already share a visual direction.
- Less waste: test a small selection instead of opening or cutting into an entire physical collection.
- Hands-on freedom: combine printed elements with handwriting, stamps, fabric, found paper or other physical materials.
- Simple first projects: one printable kit is enough to learn basic composition without buying a large craft inventory.
If you want to browse themes before reading further, explore the full packs collection and save 2-3 favorites for your first project.
Why Printable Scrapbook Kits Work So Well for Junk Journals
Printable kits are a natural fit for junk journaling because they give you coordinated digital papers and decorative elements while leaving the final page physical and handmade.
You can combine:
- distressed printable paper backgrounds,
- printable tickets and labels,
- vintage ephemera,
- handwritten notes,
- fabric scraps, stamps and washi.
That mix of printed and handmade elements is what gives junk journals their layered personality. Digital files make the process flexible because you can resize or reprint selected elements while still assembling the finished journal by hand.
For example, if you like romantic floral spreads, a soft botanical kit lets you create multiple page moods (light, dark, minimalist, layered) from the same visual universe.
What You Need to Begin (Without Overbuying)
You do not need a craft room full of gear to start. Begin with a lean setup and upgrade later.
Essential starter supplies
- Printer (inkjet is perfectly fine)
- Matte or satin paper (120–160 gsm)
- Scissors + precision craft knife
- Cutting mat
- Glue stick or tape runner
- Ruler and pencil
- One printable kit you truly love
That is enough to create excellent beginner pages.
Nice-to-have upgrades (later)
- Corner rounder
- Tweezers (for tiny ephemera)
- Bone folder (for cleaner folds)
- White gel pen for highlights
- Date stamp
If you also want made-to-measure bundles, the custom pack builder is useful when you already know your preferred style.
How Printable Scrapbook Kits Work
Understanding kit structure removes 80% of beginner confusion.
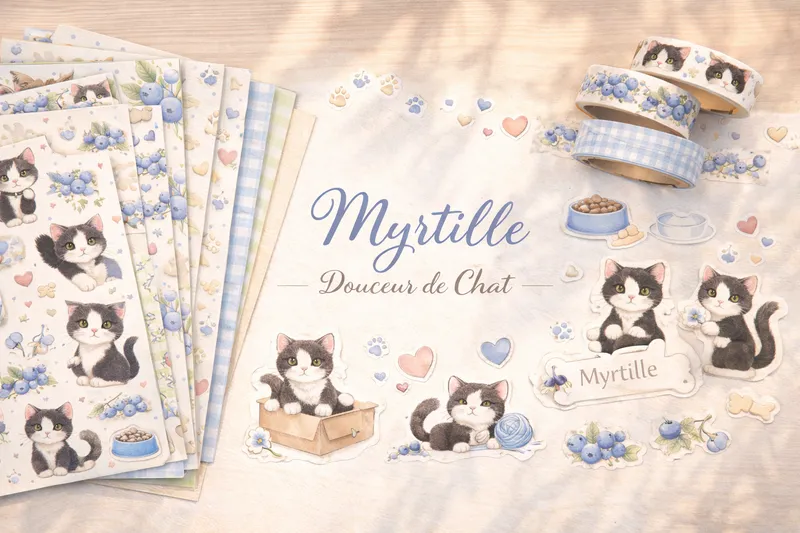
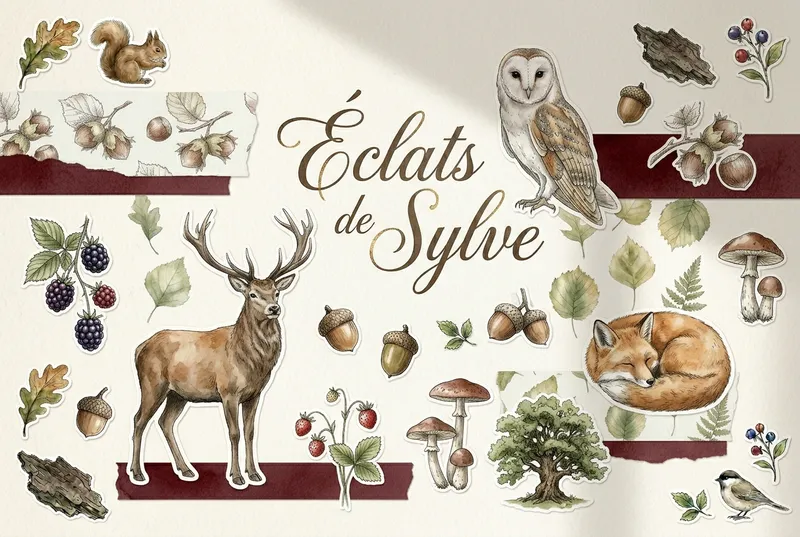
Most printable scrapbook kits include combinations of:
- full-page papers (backgrounds),
- transparent PNG stickers,
- cards/journaling blocks,
- tags and labels,
- decorative ephemera clusters.
Typical beginner workflow
- Open the kit files and scan all pages quickly.
- Choose one mini color story (2-4 colors max).
- Print only selected sheets.
- Cut broad shapes first, tiny details second.
- Build one page using “background -> focal -> support -> text”.
The trap is printing everything immediately. Start small, complete one polished page, then expand.
Kits with strong character motifs are great for beginners because they naturally provide focal points and make page composition faster.
Printer and Paper Basics for Clean Results
Printing quality is where many first projects fail. The good news: a few settings solve most issues.
Recommended baseline settings
- Print quality: High / Best
- Scale: 100% (no “fit to page”)
- Paper profile: match your real paper type
- Resolution target: 300 DPI files
For a deeper technical walkthrough, read the dedicated printing and cutting guide.
Best paper choices by use case
Background papers
Use 100-120 gsm matte if you want easy layering without bulky pages.
Stickers and ephemera
Use 120-160 gsm matte or satin for crisp cuts and better handling.
Cards and tags
Use 180-220 gsm if you want sturdier pieces.
Color management tip for beginners
Print a tiny test strip before full sheets. It saves ink and helps you catch:
- too-dark shadows,
- oversaturated skin tones,
- low-contrast text.
Your First 3 Projects (Simple, Beautiful, Doable)
When learning to scrapbook with printable kits, your first projects should be short and finishable.
Project 1: One-story journal spread
Use:
- one background paper,
- one large focal sticker,
- two labels,
- one date,
- one short handwritten note.
Goal: learn balance and spacing.
Project 2: Mini ephemera envelope
Create a pocket from printable paper, then fill it with:
- tiny tags,
- one quote card,
- two decorative cuts.
Goal: learn practical paper construction.
Project 3: Theme card set
Print one kit and create 3 matching cards with consistent palette.
Goal: learn visual consistency.
Celestial or dreamy kits are especially effective for mood-driven journaling and evening-themed spreads.
Common Beginner Mistakes (And How to Fix Them)
Even talented crafters make these at first.
Mistake 1: Printing everything at once
Fix: curate first. Print less. Finish more.
Mistake 2: Ignoring scale
Fix: keep print scaling at 100%. Tiny labels become unusable if auto-scaled.
Mistake 3: Too many focal points
Fix: one hero element per page. Everything else supports it.
Mistake 4: Mixing too many color families
Fix: choose one dominant palette and one accent color.
Mistake 5: Cutting tiny details too early
Fix: rough-cut big blocks first, detail-cut later.
Mistake 6: No white space
Fix: leave breathing room. Dense does not always mean rich.
Mistake 7: Waiting for “perfect”
Fix: complete imperfect pages. Volume builds taste.
A Practical Composition Formula for Beginners
If you freeze when facing a blank page, use this sequence:
- Anchor: place your background.
- Focus: add one hero image or card.
- Structure: add 2-3 medium elements.
- Rhythm: add repeats (small labels/icons).
- Voice: add text (date, note, short quote).
- Finish: add one contrast detail (ink line, stamp, torn edge).
This gives structure without killing creativity.
Building Your Own Signature Style
Style is not something you “find” in one day. You build it through repetition.
Try this:
- Keep a “style board” of 10 pages you love.
- Notice patterns: muted tones, maximal layering, clean margins, vintage textures, etc.
- Recreate one pattern intentionally in your next spread.
Over time, your pages become recognizable as yours.
Internal Workflow for Sustainable Creativity
To avoid burnout while growing your craft:
- Create in short sessions (30-45 min).
- Keep a “print queue” folder for your next weekend session.
- Batch similar tasks (all cutting, then all layering).
- Photograph finished pages to track progress.
If you want ongoing inspiration, the atelier index gathers practical tutorials and creative prompts.
Beginner FAQ
Conclusion: Start Small, Stay Curious, Build Beautifully
Learning printable scrapbooking is less about talent and more about rhythm: choose, print, cut, compose, repeat.
Your first pages do not need to be perfect. They need to be real, finished, and meaningful.
Start with one kit, one story, one evening. Then build your collection project by project.
When you are ready, explore Pixel Scrap’s printable scrapbook kits and craft pages that feel deeply personal, tactile, and alive.