Digital Scrapbooking Kits: A Practical Guide to Printing and Cutting
Technical advice for printing scrapbooking at 300 DPI, choosing scrapbooking paper (matte, glossy, weight), and cutting your digital stickers. Cutting tutorial with scissors vs craft knife.

Printing your digital scrapbooking kits and cutting your digital stickers the right way makes a real difference: accurate colours, clean edges, and a professional look. This practical guide gives you straightforward technical advice on printing scrapbooking at the right quality, choosing the right scrapbooking paper, and nailing the cutting of your elements.
Which Paper to Choose for Digital Scrapbooking
The scrapbooking paper you use directly affects how your digital stickers and backgrounds look. Here’s what to consider.
Matte, satin, or glossy?
- Matte : ideal for stickers and elements you’ll cut out. No glare, soft finish, easy to write on with pen or marker. Perfect for a cutting tutorial without surprises.
- Satin : a middle ground between matte and glossy. Vibrant colours, slight resistance to fingerprints. Very popular in digital scrapbooking.
- Glossy : very vivid colours and contrast, but glare and fingerprints. Best for album pages rather than stickers you’ll cut.
Tip : for printing scrapbooking and cutting elements, choose scrapbooking paper that’s matte or satin.
What weight (grammage)?
- 80–100 g/m² : thin, good for background pages and filler paper. Can warp if too much ink.
- 120–160 g/m² : a good balance for most projects. Ideal for digital stickers and small elements to cut.
- 200–250 g/m² : stiffer, for cards, tags, and elements that need to stand. Great for a more demanding cutting tutorial.
In short: 120–160 g/m² in matte or satin is an excellent starting point for printing scrapbooking and cutting your kits.
Printer Settings: Aim for 300 DPI
For your digital scrapbooking kits to look their best, printing should be at 300 DPI (dots per inch). That’s the standard for sharp, professional output.
In your printer settings
- Quality : set to “High quality” or “Best quality” (avoid draft).
- Resolution : if available, choose 300 DPI (or 600 DPI for very fine text).
- Paper type : select “Matte paper”, “Matte photo paper”, or “Heavy paper” to match your scrapbooking paper so ink is applied correctly.
- Colour : leave colour on; don’t use “Ink saver” if you want accurate colours.
In your print software (PDF or layout app)
- Check that the document is 300 DPI (often shown in file or app properties).
- Turn off “Fit to page” or “Scale” so you don’t distort elements or lose sharpness.
- Print at 100% (actual size) so your digital stickers are the right size once cut.
Tip : do a test print on plain paper to check colours and size before using your scrapbooking paper.
How to Cut Stickers: Scissors or Craft Knife?
Cutting your digital stickers can be done with scissors or a craft knife. Both have their place depending on the shapes and your preference.
Cutting with scissors
- Pros : no expensive tools, great for rounded shapes, small pieces, and organic edges. Perfect for a beginner cutting tutorial.
- Tips : use fine-tip scissors for detail. Cut just outside the line if you want a margin, or right on the line for a clean edge. Keep the hand holding the paper steady to avoid tearing.
Best for : round stickers, clouds, flowers, freeform shapes.
Cutting with a craft knife
- Pros : very clean edges, precise corners, perfect straight lines. Essential for cards, tags, and geometric shapes.
- Tips : work on a cutting mat. Change the blade when it drags. Several light passes are better than one heavy one. For curves, rotate the paper rather than the knife.
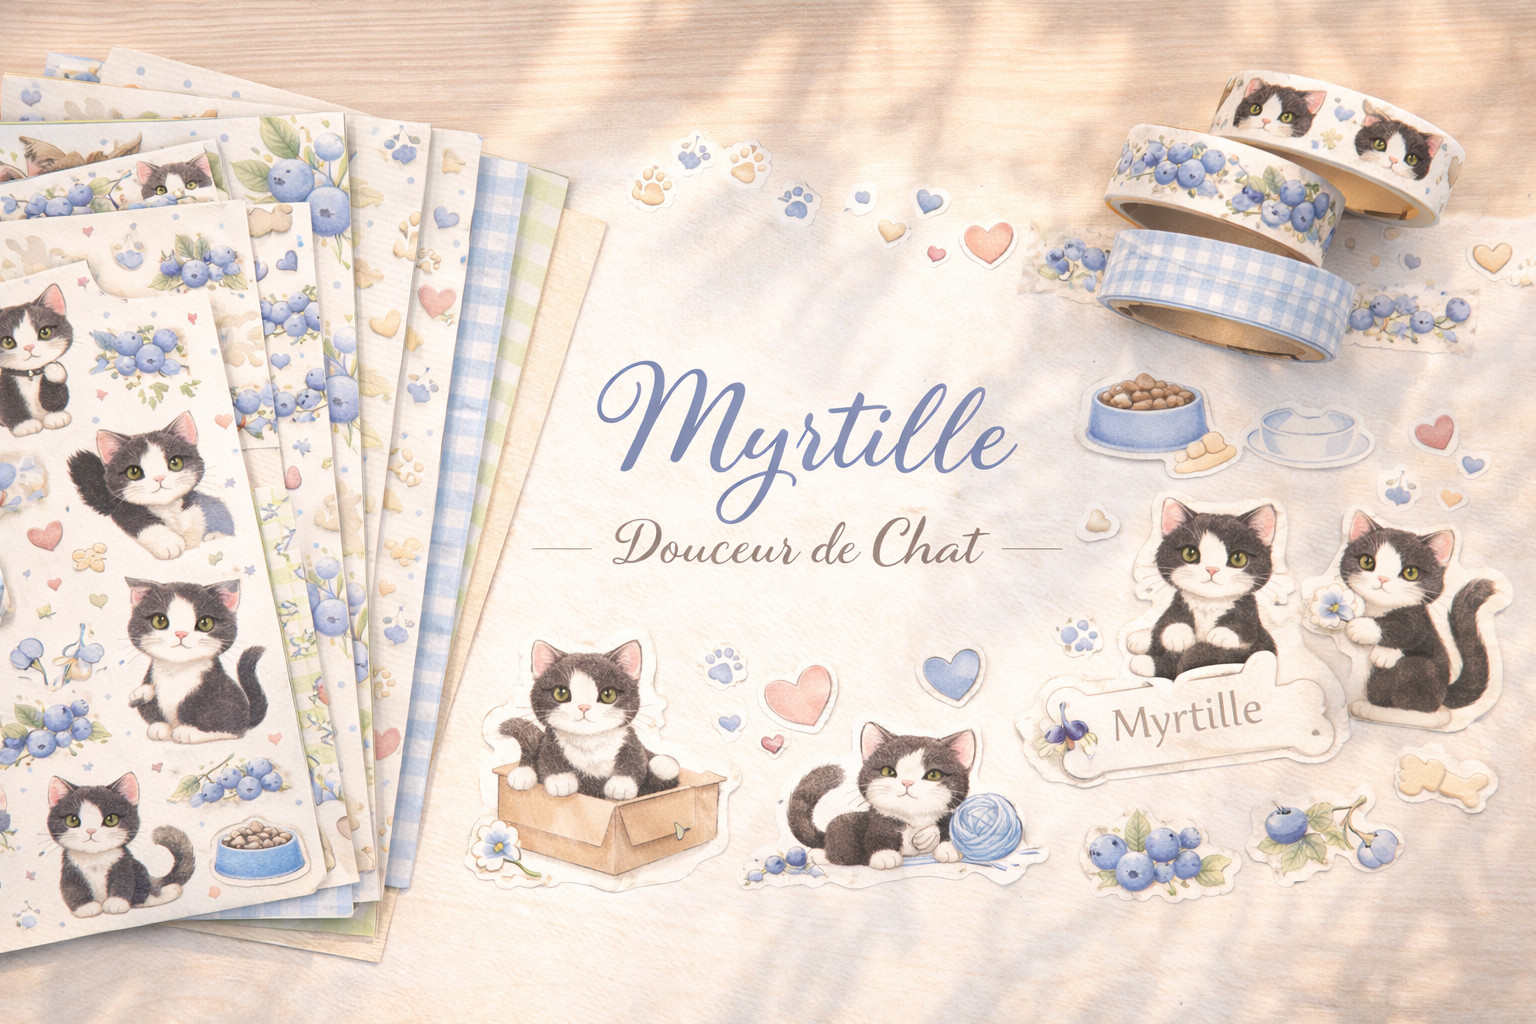
A pack like Shiba Inu Cafe is full of digital stickers to print and cut: geometric patterns, tags, and organic elements. You can use scissors for soft shapes and a craft knife for straight edges.
Best for : cards, tags, rectangles, shapes with right angles.
Cutting recap
- Scissors : rounded shapes, detail work, beginners.
- Craft knife : straight lines, corners, pro finish.
- Use both : choose the tool based on each shape in your digital scrapbooking kit.
Conclusion
Printing scrapbooking well and cutting your digital stickers successfully comes down to three things: good scrapbooking paper (matte or satin, 120–160 g/m²), print settings at 300 DPI with no scaling, and the right cutting method — scissors for curves, craft knife for angles. With this practical guide and a bit of practice, your digital scrapbooking kits will come to life under your fingers.