How to Make a Scrapbook Album: A Step-by-Step Beginner Tutorial
Learn how to make a scrapbook album from start to finish: choose photos, plan eight pages, design layouts, add journaling and preserve your memories.
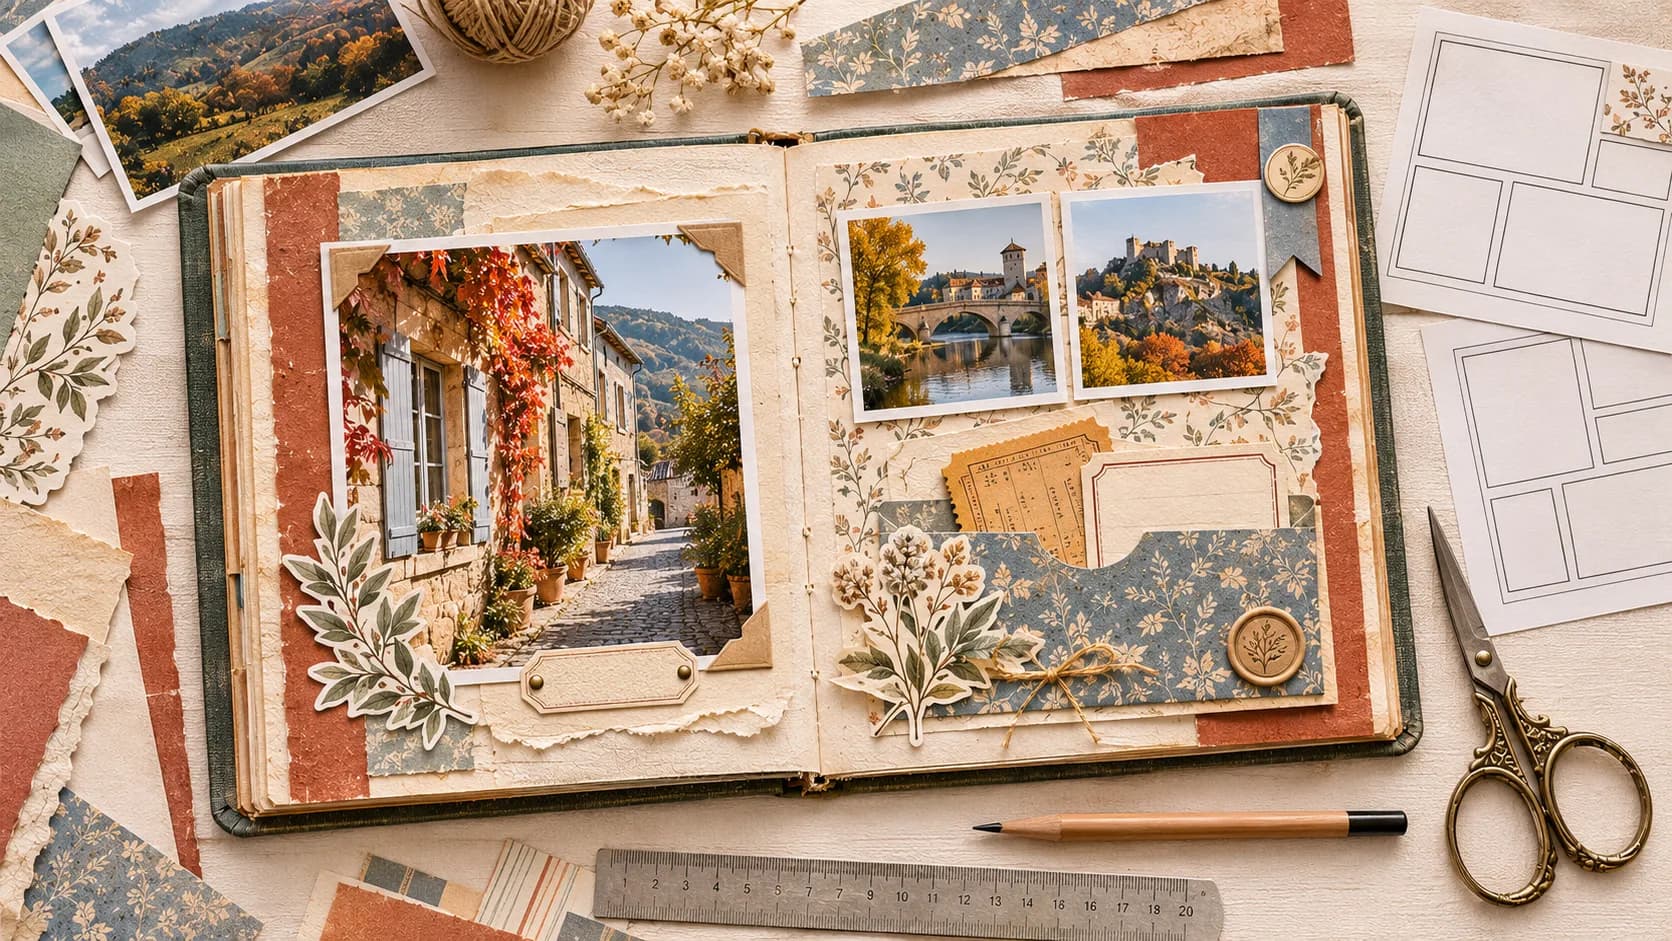
You have the pictures, a few saved tickets, and the feeling that those memories deserve more than another folder on your phone. But how do you make a scrapbook album that looks cohesive, tells a real story, and actually gets finished?
The easiest approach is to start with a blank album, choose one manageable story, and plan your photographs before you reach for glue. Once you know what each spread needs to say, the papers, stickers, and handwritten details become easier to choose.
This tutorial walks you through a beginner scrapbook with eight decorated pages, arranged as four double-page spreads. We'll use an 8 × 8-inch album, a practical size for a short memory-keeping project, and follow an imaginary weekend away from departure to the journey home. The same method works for family gatherings, birthdays, vacations, and everyday memories.
If you are still exploring the hobby itself, read what scrapbooking is first. This guide focuses on planning, assembling, and finishing an actual photo album rather than explaining the definition of scrapbooking.
The beginner album we're going to make
Before buying supplies, set a finish line. A complete eight-page album is much more rewarding than an elaborate 50-page project that never makes it off your desk.
| Detail | Our project | Why it works |
|---|---|---|
| Album size | 8 × 8 inches | Room for photographs without overwhelming blank space |
| Length | 8 individual pages, or 4 two-page spreads | Enough for a beginning, middle, and end |
| Photos | Around 12–16 printed photographs | Mix hero shots with smaller supporting images |
| Palette | Two main colors plus one accent | Consistent without making every page identical |
| Structure | A ready-made album with sturdy pages or compatible page protectors | No DIY binding required |
| Decorations | Flat papers, labels, stickers, and keepsakes | Adds personality without overstuffing the binding |
Measure first: not every album labeled 8 × 8 has the same usable page area. Some page protectors and bindings reduce the space you can decorate. Use the manufacturer's actual dimensions before trimming papers.
This is a tutorial for building the story inside an album, not for constructing a book cover from chipboard. If you would rather learn ring binding and cutting your own pages, our separate Christmas mini scrapbook album tutorial covers that project.
What you need for a handmade scrapbook album
A small, thoughtful set of supplies is enough:
Not sure which paper, adhesive or cutting tools to buy? Read our beginner scrapbook supplies checklist before gathering materials for this album.
- One blank 8 × 8-inch scrapbook album, with sturdy pages or compatible sheet protectors.
- 12–16 printed photographs, with a few smaller prints for detail layouts.
- Scissors or a paper trimmer, plus a ruler and pencil.
- Photo corners or photo-safe adhesive, ideally archival-quality when preservation matters.
- Two to four patterned paper sheets, plus plain paper or cardstock for photo mats and titles.
- A pen for dates, places, and stories.
- A handful of flat stickers, labels, and memorabilia such as travel tickets or small notes.
You don't need a die-cutting machine, an expensive starter kit, or a drawer full of punches. Working with fewer supplies can make your first album easier to design.
If you're using digital papers or printable stickers, print only what you need for the current spread. Our guide to printing digital scrapbook paper covers printer settings, sizing, and trimming in detail; here we'll focus on the storytelling and album construction.
How to make a scrapbook album in 10 steps
Step 1 — Pick one story for the entire album
A scrapbook isn't a warehouse for every photo you have. It becomes meaningful when its pages answer a question: what do I want to remember about this experience?
For our weekend getaway example, choose four chapters:
- Leaving home: a ticket, a station photograph, the excitement of setting off.
- Exploring: streets, a market, a landmark, and the atmosphere of a new place.
- Little moments: a café, funny sign, shared meal, or unexpected conversation.
- Coming home: a final walk, favorite portrait, or a detail that sums up the trip.
That simple arc gives the album a beginning, middle, and end. It also makes it easier to leave out repeated photographs that don't add anything to the memory.
Try this: write one sentence describing your album. For example: “Our first weekend away together, full of rain, cobblestone streets, and good coffee.” Keep it next to your workspace as you design.
Step 2 — Edit your photos before you print
Put your candidates into a temporary folder. Choose broadly at first, then make a second pass to remove duplicates and near-identical shots.
For each two-page spread, aim for:
- one focal photograph that captures the main feeling;
- one to three supporting photographs with different perspectives;
- perhaps one close-up of food, a building, a hand, or an object.
The best scrapbook picture isn't always the sharpest. A slightly imperfect candid may tell a stronger story than a flawless but generic landscape. What matters is whether it adds something worth remembering.
Sort the selected images in story order before ordering prints. You'll immediately see which images should be larger and which can sit together as a strip of small photographs.
Step 3 — Decide on photo sizes that leave room to tell the story
An 8 × 8-inch page fits a standard 4 × 6-inch landscape photo comfortably, but a very large print may leave little room for a title or handwritten note.
These are useful starting sizes, not rigid rules:
| Photo size | Best use on an 8 × 8-inch page |
|---|---|
| 4 × 6 in, landscape | Main photograph with room for a caption |
| 3 × 4 in, portrait | Two portraits side by side |
| 2 × 3 in | Three small detail shots in a strip |
| 4 × 4 in | Square focal point with space for journaling |
For a photo you plan to crop, check that important faces and details will remain visible. Use duplicate prints rather than cutting an irreplaceable original.
Before you order anything, cut a few plain paper rectangles to the sizes above and move them around the album pages. It's a quick way to test proportions without wasting prints.
Before ordering prints, check our guide to scrapbook photo sizes, cropping and print quality so your images fit the page without cutting off important details.
Step 4 — Map out your four two-page spreads
This is where a collection of pictures becomes an album with visual rhythm. Make a simple page map on scrap paper before you decorate.
| Pages | Story | Layout direction | Saved detail |
|---|---|---|---|
| 1–2 | Departure | One hero photo plus two small details | Train or admission ticket |
| 3–4 | First discoveries | A landscape photo and two portraits | A tiny neighborhood map |
| 5–6 | Everyday moments | Three small photos with longer journaling | Café receipt |
| 7–8 | Final morning | One strong photo and a quiet closing page | Postcard or favorite quote |
Remember the gutter: important faces, captions, and small labels shouldn't disappear into the center fold. If you use page protectors, thick embellishments may also keep them from closing neatly.
Your page map can change as you work. Its job is to catch problems early, such as four crowded layouts in a row or one chapter with no clear main photograph.
Step 5 — Choose a color story that ties the album together
Pick two main colors and one accent drawn from the photographs. For a city weekend, cream and dusty blue with touches of terracotta could work beautifully.
Repeat three small design choices across the pages:
- the same style of date label;
- a consistent plain-paper mat behind hero photographs;
- one small repeated motif, such as a postage stamp, star, or short colored line.
The pages don't need to match exactly. A quiet spread followed by a busier collage can look intentional when the colors and repeating details connect them.
For a travel album, vintage maps, postal designs, and printable labels make natural supporting details. Vintage Travel includes coordinating papers and travel-themed elements; start with one or two useful sheets rather than printing every asset.
Step 6 — Choose one of three easy scrapbook page layouts
You don't need advanced composition techniques to make the album feel polished. Use these three reusable layouts as starting points.
Layout A: one hero photograph
Place a 4 × 6-inch landscape photo in the upper half of the page. Leave a visible border of background paper and reserve a strip below it for a short title and two sentences.
Best for: a group picture, landscape, or single moment that deserves the spotlight.
Try this: shift the photo slightly away from dead center, but keep enough clearance near the binding.
Layout B: two moments side by side
Place two 3 × 4-inch portraits next to each other with a narrow gap. Add one shared label and a single brief anecdote rather than giving each image a separate headline.
Best for: before-and-after moments, two people, or different scenes from one afternoon.
Try this: if the images have clashing colors, a shared neutral mat can make them look more cohesive.
Layout C: three details with a longer story
Arrange three 2 × 3-inch images in a row or gentle stagger. Use the open area for writing about why those small moments mattered.
Best for: a meal, a collection of favorite objects, funny signs, or details that wouldn't justify a full-page photograph on their own.
Try this: keeping the three pictures the same height creates a reassuring visual rhythm.
These aren't templates you must copy exactly. Move the pieces around until the eye travels naturally from the focal image to the supporting photographs and the story.
Need a simple composition for each page? Explore our 20 easy scrapbook page layout ideas for beginners and choose a design based on your photo count and the story you want to tell.
Step 7 — Layer papers without overpowering the photos
Build the layout without adhesive first. Start with a calm background, then add a contrasting photo mat or a narrow strip of patterned paper.
For example, a 4 × 6-inch print with a 1/8-inch border on each side needs a mat measuring 4 1/4 × 6 1/4 inches. That gives the photo a visible frame without making the composition bulky.
If your background paper is busy, use a solid mat so the image remains easy to read. On a simple background, one patterned accent may be all you need.
Avoid making every page a full patterned-paper collage. Alternating decorated spreads with quieter pages helps readers notice the photographs and creates a more satisfying album overall.
Step 8 — Add meaningful journaling and keepsakes
A beautiful album becomes personal when it includes details the pictures alone can't explain.
Instead of labeling a photograph “Lunch,” try: “We accidentally ordered the house special twice, and it became the funniest meal of the trip.”
For each spread, ask yourself:
- Where and when did this happen?
- What happened just before or after the picture was taken?
- Why will this moment matter to you later?
Your writing can fit on a small journaling card, a paper strip, or an open corner of the page. Tickets and fragile documents are often better kept in small removable pockets than glued down permanently.
For a removable keepsake pocket or a photo hidden beneath a flap, see our interactive scrapbook page tutorial.
Archival-inspired labels can make a photo-and-story spread feel especially intentional. If that matches your taste, Secret Library includes vintage papers and writing-themed details that work as selective accents rather than a theme you must use throughout the whole album.
Step 9 — Attach your pieces in the right order
Once you're happy with the layout, take a quick phone photo as a reference. Then lift everything off and attach items from the background forward.
- Background paper and large accents.
- Photo mats or plain cardstock frames.
- Photographs, using photo-safe corners or adhesive.
- Journaling cards and flat keepsakes.
- Small stickers and finishing details.
Avoid permanent unknown glues on irreplaceable originals. Photo corners and pockets let you remove a print or ticket without damaging it. Test any unfamiliar adhesive on scrap paper first.
For a page-protector album, make sure everything is flat and secure before inserting the page. For a bound album, keep the next page protected while you work and allow adhesives to dry before closing it.
Step 10 — Finish the cover and check the album as a whole
Your cover should introduce the memory, not list every event inside. Choose one short title, a place or date, and perhaps one photograph.
For our example, something as simple as A Weekend Away — Spring 2026 is enough. The more personal details belong on the inside pages.
Flip through the whole album slowly and check that:
- important parts of photographs aren't hidden by the binding;
- dates and names are readable;
- tickets and labels are attached securely;
- pages turn without catching on raised decorations;
- the album closes easily, without putting pressure on thick layers.
Photograph each completed two-page spread. Those images make a useful backup record of the layout and are handy if you want to repair or recreate a page in the future.
How long does it take to make a scrapbook album?
The time depends on how much photo editing, cutting, and writing you want to do. For our eight-page project, this is a planning estimate, not a guaranteed completion time.
| Session | Task | Approximate time |
|---|---|---|
| 1 | Choose the story and edit the photos | 30–45 minutes |
| 2 | Prepare prints, make mats, map the spreads | 45–60 minutes |
| 3 | Decorate and attach the first four pages | 60–90 minutes |
| 4 | Finish the final four pages and cover | 60–90 minutes |
Total estimate: about 3 hours 15 minutes to 4 hours 45 minutes, split over several sessions. Allow extra time for more elaborate cutting or decorative work.
Only have an hour? Start with one two-page spread. Finishing something small is more useful than collecting supplies for a project that never begins.
Five beginner scrapbook album mistakes to avoid
1. Keeping too many similar pictures
Problem: nothing stands out. Fix: pick one anchor photograph per spread and add only the images that expand the story.
2. Filling every empty space
Problem: the photos and personal memories get lost. Fix: leave breathing room; a simple page makes the more detailed spreads more effective.
3. Starting with an oversized album
Problem: a 12 × 12-inch page feels intimidating and demands more materials. Fix: try an 8 × 8-inch album first, then move to larger layouts once you know what you enjoy.
4. Gluing before checking the entire spread
Problem: adjacent pages clash or a key detail disappears into the gutter. Fix: arrange both pages together and take a reference picture before attaching anything.
5. Leaving out the words
Problem: years later, you remember the faces but not the story. Fix: record at least a date, place, and one personal sentence for each important chapter.
How to protect your finished photo scrapbook
Keep the album away from direct sunlight, excess moisture, and heat. If long-term preservation matters, look for albums and page protectors intended for photo storage, and follow their material specifications rather than assuming any clear plastic is archival-safe.
Use duplicate prints when the originals are precious. Keep separate digital backups of the photographs, and avoid unknown glues or tapes directly on images.
A handmade scrapbook doesn't have to be perfectly flat, but too many bulky embellishments can strain the binding and warp the pages. Flat printable papers and stickers are often a practical option for a beginner memory album.
FAQ: Making Your First Scrapbook Album
Start with the story; let the decorations follow
Learning how to make a scrapbook album is mostly a matter of making good decisions in the right order: choose a memory, edit the photos, plan the spreads, and only then select your papers and embellishments.
You don't need a perfect album. Eight thoughtful pages with meaningful photographs, a few written details, and a consistent visual rhythm can be more rewarding than a huge project that never gets finished.
Explore Pixel Scrap's printable scrapbook kits when you're ready to build a coordinated color story. If you also want to learn the downloadable-file workflow, continue with our separate printable scrapbooking beginner guide.