Scrapbooking Supplies for Beginners: What You Really Need
Discover essential scrapbook supplies for beginners, from albums and cardstock to photo-safe adhesive, scissors and the tools you can skip for now.
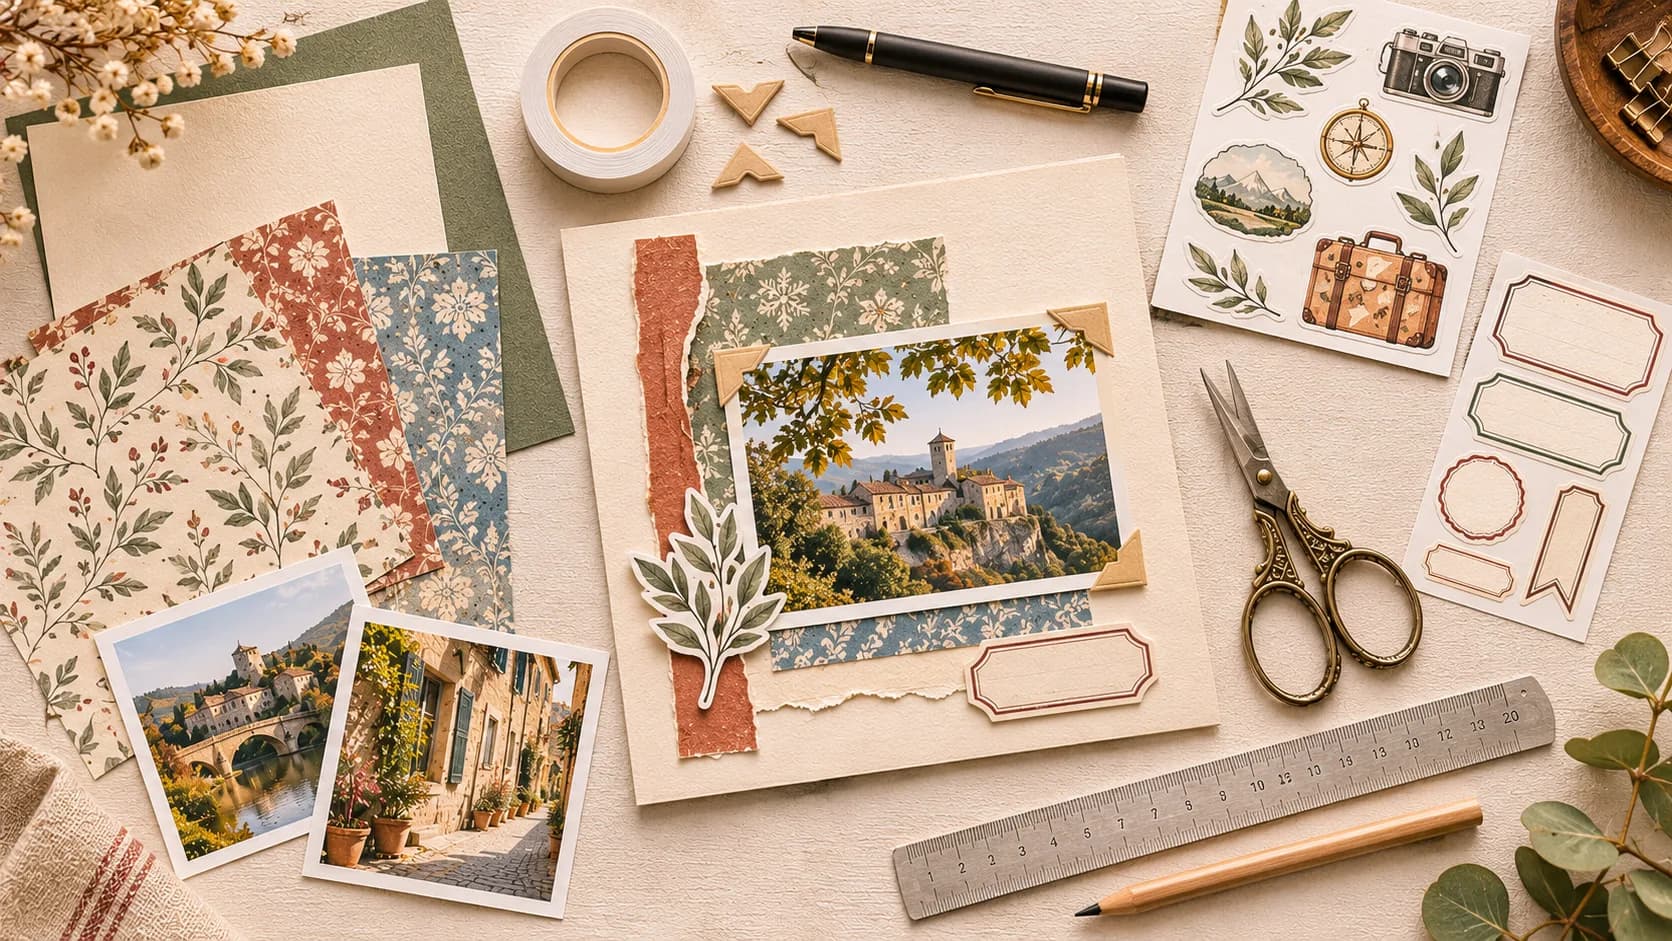
You want to try scrapbooking, but a quick look at craft supplies can make it seem as though you need a die-cutting machine, a paper trimmer, six kinds of glue and an entire shelving unit of patterned paper before you can get started.
You don't. The best beginner scrapbooking supplies are the ones that help you finish a real page: something to work on, a memory worth keeping, paper, scissors, a suitable adhesive and a pen. Everything else is a possible upgrade, not an entry requirement.
This guide is a shopping and setup checklist, not another tutorial about decorating every page. We'll separate essentials from optional tools, explain what to look for when buying paper or photo adhesive, and help you choose a starter kit that fits your first project. If you're new to the hobby itself, read what scrapbooking is. If you're ready to plan a whole photo book, our step-by-step scrapbook album tutorial tackles that different task.
The essential scrapbooking supplies checklist
You can create your first page with a short list. Check your desk and drawers before heading to a craft store: you may already own half of it.
| Supply | What it's for | Beginner priority |
|---|---|---|
| Blank album, notebook or sturdy cardstock | A surface for your layout | Essential |
| Printed photos or paper mementos | The story your page will tell | Essential |
| Plain and patterned papers | Backgrounds, photo mats and accents | Essential, in small amounts |
| Sharp scissors | Cutting papers and embellishments | Essential |
| Photo-appropriate adhesive | Attaching pictures and papers | Essential |
| Pencil, ruler and journaling pen | Planning, measuring and writing | Essential, ordinary stationery works |
| Stickers, labels or paper scraps | Decorative details and captions | Optional |
Notice what's missing: a printer, electronic cutting machine, embossing tools and specialty punches. They can be useful later, but none is required to put a photograph and a meaningful caption on a page.
1. Choose a surface before buying decorations
The first decision is not which stickers look cutest. It's where your finished work will live.
A scrapbook album for photographs and lasting memories
A ready-made scrapbook with substantial pages or suitable page protectors is ideal if you want to tell a story over several spreads. An 8 × 8-inch album is a manageable first format: it has room for a 4 × 6-inch photo and a caption without presenting an intimidating amount of blank space.
Measure the usable page area and check how much bulk the album can handle. Rings, binding margins and protective sleeves may reduce the space available for your design.
A notebook for everyday notes and layered paper
A smaller journal works for travel notes, receipts, labels and short written memories. It is easy to pick up and put down, although heavy layers can make an ordinary notebook swell. Choose paper that can handle your intended pens and light adhesive.
Loose cardstock for a first experiment
Not ready to commit to an album? Make one standalone layout on a sturdy sheet. You can place it in a scrapbook or frame later. This is often the cheapest way to discover whether you prefer photo-focused pages, mixed-media journals or decorative paper crafts.
Buying rule: choose the project first. An album designed for family photographs is not necessarily the best surface for a pocket-sized travel journal, and vice versa.
2. Which scrapbook paper do beginners actually need?
Paper is easier to shop for when you understand its job on the page. Instead of buying five almost-identical patterned collections, think in three layers.
| Paper type | Common use | Practical weight guide |
|---|---|---|
| Everyday light paper | Sketches, templates and small strips | Around 80–100 gsm |
| Medium-weight matte paper | Printable designs, decorative layers and labels | Around 120–160 gsm |
| Sturdy cardstock | Layout bases, photo mats and simple cards | Around 200–250 gsm |
These are starting points rather than rigid rules. Paper stiffness varies with finish and construction. If you're using a printer, make sure the stock is within its supported media range. US paper packaging may list text or cover weights instead of gsm; those categories are not directly interchangeable.
Build a small coordinated palette
For your first layout, pick one neutral base, one solid accent color and perhaps two patterned sheets. Try ivory, dusty blue, a delicate botanical design and a narrow stripe. This gives you enough variety to make a photo mat, decorative border and date label without competing with the photograph.
Paper scraps, envelopes and the back of a clean card can also work. You don't have to start with a complete physical paper pad.
Printable scrapbook paper versus physical paper
A printable scrapbook paper design is a downloadable file, not a sheet delivered to your door. You decide whether to print it at home or through a print service, and what compatible paper to use.
That flexibility is helpful, but it's a separate consideration from buying a physical album and glue. For detailed paper types, print quality and cardstock decisions, see our guide to the best paper for printable scrapbook kits. Here we're choosing supplies, not troubleshooting printer settings.
3. Start with scissors, not an expensive cutting system
Good scissors are worth more than an unused machine
Comfortable, sharp scissors will handle paper rectangles, labels, simple shapes and many printed stickers. Try the pair you already have. If it tears edges or tires your hand, a decent craft pair may be your first worthwhile upgrade.
Fine-tip scissors can help with intricate motifs, but they're optional. Keep sharp blades away from children and supervise crafting appropriately.
A ruler and craft knife are the next step for straight edges
A pencil and ruler help measure photo mats and borders. If you eventually want longer, cleaner cuts, use a metal ruler and craft knife on a proper cutting mat. Don't cut directly on a tabletop, and protect the blade when storing it.
When does a paper trimmer make sense?
A trimmer saves time when you routinely cut the same rectangles, card bases or decorative strips. But one or two pages don't justify the purchase for everyone.
The same goes for corner rounders, punches and electronic die cutters. First see which motions you repeat during actual projects. Buy a specialized tool to solve a repeated problem, not to recreate a shopping haul you saw online.
Once you have the basics, try an easy scrapbook pocket or flap tutorial using ordinary paper scraps.
4. The scrapbook adhesive that deserves your attention
If you are preserving family photographs, the adhesive is a more important purchase than a fancy embellishment.
Choose photo-safe options for photographs
Look for photo corners, suitable sleeves or adhesives specifically labeled photo-safe, and pay attention to any archival or acid-free information supplied by the manufacturer. A generic office glue stick or unknown tape is not automatically appropriate for photographs you want to keep for years.
For one-of-a-kind, old or irreplaceable photos, work from copies instead of attaching the originals to decorated paper. Photo corners can be particularly useful because they avoid applying glue directly to the back of a print.
Use different adhesives for different paper elements
- Photo-safe double-sided tape or tape runner: convenient for flat photo mats and paper layers when the manufacturer confirms suitability.
- Fine-tip liquid glue: useful for small paper details; test for warping on a scrap first.
- Glue dots: handy for lightweight embellishments.
- Dimensional foam tape: fun for raised effects, but it adds bulk and can wait until you're comfortable building flat pages.
You don't need to buy all four. Start with one appropriate dry adhesive and add a detail glue later if your projects call for it.
5. Photos, keepsakes and a pen are creative supplies too
It's easy to plan a page around patterned paper and forget its most important ingredient: the memory.
Gather a photograph, a concert ticket, a postcard, a handwritten note, a receipt from a meaningful day or a map fragment. Then write down the date, place and a sentence you would genuinely want to read in ten years.
Use a pen that writes cleanly on your chosen paper. Test it before writing on the final page to check drying and smudging. If long-term preservation matters, look for writing tools with appropriate manufacturer claims rather than assuming any black pen is archival.
Beginner-friendly tip: use duplicate photos for your first few layouts. It takes away the worry of ruining a unique print while you learn where to place your elements.
Before choosing your photo prints, see our guide to the best photo sizes for scrapbooking.
6. Stickers and embellishments: how much is enough?
Decorations can give your scrapbook personality, but they're also where a beginner's budget can disappear surprisingly quickly.
A small selection is enough:
- date labels or tiny journaling cards;
- one sticker sheet in your chosen theme;
- a few decorative paper cutouts;
- some paper strips or ribbon you already own.
Try keeping most decorations flat on your first pages. Thick charms, heavy flowers and layers of foam can make an album hard to close. A clear photograph and a few carefully placed elements will often tell the story better.
What about printable stickers?
Printable sticker artwork arrives as digital files. A single PNG sheet can contain multiple individual sticker motifs, so the number of files is not necessarily the number of stickers. You can print on compatible sticker paper or print on regular paper and attach the cutouts with glue.
Pixel Scrap's printable packs are digital downloads, not physical adhesive stickers. If you decide to use them, budget for printing and cutting separately. Our home printing guide and printable sticker cutting guide cover the detailed workflow without turning this supplies checklist into another printer tutorial.
7. Three practical starter kits for different projects
There's no single perfect starter kit because scrapbookers don't all make the same thing. These three small setups solve different needs.
Starter kit A: a first photo layout
Gather: one sheet of cardstock, two printed photos, two coordinated papers, scissors, photo-safe adhesive and a pen.
Best for a birthday, family outing or short weekend memory. You can make the page before committing to a whole album.
Starter kit B: a small creative journal
Gather: a notebook, a few paper scraps, one small envelope, a ticket or postcard, scissors, adhesive and a pen.
Best for writing and collecting everyday moments. This approach values texture and personal details over perfectly aligned photo grids. Learn more in our introduction to junk journaling.
Starter kit C: printable scrapbook pages
Gather: sturdy paper, one or two printable sheets, a photo, access to a printer or print shop, scissors and appropriate adhesive.
Best if you enjoy choosing motifs for a theme and printing only what you'll use. You do not need to own a printer to begin: a local print service can produce the sheets for you, provided it accepts the file format and paper you need.
A coordinated travel-themed printable kit is one possible way to introduce motifs into this setup. It's entirely optional; your first page should be achievable with supplies already at home.
If you want the full download-to-page process, our separate printable scrapbooking beginner guide explains how to work with digital kits.
8. Is a scrapbooking starter kit worth buying?
A physical beginner kit can save decision fatigue when the colors and papers actually work together. But don't judge a set solely by a large piece count or an impressive product photograph.
Before ordering, check:
- What's included? Is there an album, or only paper and embellishments?
- Does it fit your project? A 12 × 12-inch paper collection may require trimming for an 8 × 8-inch album.
- Physical or digital? Printable files require a separate printing step; physical kits generally require shipping.
- What else do you need? Photos, scissors, adhesive and a pen may not be included.
- Are the supplies photo-appropriate? Check material and adhesive claims if you're preserving important prints.
Pixel Scrap's kits supply downloadable design files you can print and incorporate into your physical projects. They do not contain a finished scrapbook, a cutting machine or glue. That distinction matters when comparing prices and deciding which option genuinely meets your needs.
9. Supplies beginners can confidently buy later
It's perfectly reasonable to postpone these items until you've identified a repeated need.
| Optional tool | Consider it when… |
|---|---|
| Paper trimmer | You frequently cut large numbers of straight edges |
| Electronic die cutter | You repeatedly make intricate shapes or batches of matching cuts |
| Decorative punches | You enjoy using the same shapes across multiple projects |
| Stamps and ink pads | Stamped details have become part of your personal style |
| Embossing supplies | You specifically want to explore raised textures and finishes |
| Dedicated storage drawers | Your actual collection no longer fits into a small box |
Try this simple rule: when you catch yourself wishing for the same tool on three separate projects, write it on your upgrade list. That's a much better reason to buy than a limited-time craft sale.
10. Test your supplies with one small scrapbook page
Before ordering anything else, try a single 8 × 8-inch layout with a 4 × 6-inch photo, two paper scraps, scissors, adhesive and a pen.
- Place the photograph slightly off center on your cardstock base.
- Cut a solid-color paper mat just larger than the photo.
- Add a narrow patterned strip along one edge of the page.
- Move everything around before attaching it.
- Secure the photo with an appropriate photo-safe method and attach the paper accents.
- Write the date and a one-sentence memory beneath the picture.
You're finished. More importantly, you'll know what would make the next page easier: a new pair of scissors, an extra neutral paper or a better adhesive. Your purchases can now follow real experience rather than guesswork.
When you're ready to create a complete story rather than a standalone page, move on to our scrapbook album tutorial. It covers photo selection, page order, layouts and finishing touches in detail.
Once you've finished your first page, you can try different arrangements with the same supplies using our 20 easy scrapbook page ideas for beginners.
Five common beginner shopping mistakes
Buying a decoration collection before picking a theme
You can end up with beautiful supplies that don't work together. Pick a photo, project and small color palette first.
Choosing supplies that don't fit your album
Measure the usable page area and check paper sizes. A big paper pad isn't automatically compatible with a small journal.
Using unknown tape on precious original photographs
Treat irreplaceable prints differently from ordinary duplicates. Use copies and products appropriate for photographic materials when preservation is important.
Buying an expensive printer before trying the hobby
You can start with already-printed photos and physical papers. If you later enjoy printable kits, compare printing at home with using a print service.
Confusing a digital sticker file with ready-cut stickers
Check whether a listing contains downloadable sheets, printed sticker paper or individually die-cut stickers. They're different products with different preparation steps.
FAQ: Scrapbooking supplies for beginners
Begin with a memory, not a shopping list
Your first scrapbook page doesn't need to look like a craft-store display. A photograph, a little paper, good scissors, suitable adhesive and your own words are enough to make something meaningful.
Finish one page, notice what you enjoy and let your next project tell you what to buy next. If you'd like printable motifs and coordinated decorative elements without collecting piles of physical paper, explore Pixel Scrap's digital scrapbook packs whenever you're ready. They're an optional creative resource, not a requirement for starting the hobby.